Assembling a computer correctly
Assembling a Computer Correctly
Building your own computer can be a rewarding and cost-effective endeavor, but it requires careful consideration and attention to detail. Whether you're a seasoned tech enthusiast or a first-time builder, this step-by-step guide will help you navigate the process of assembling a computer correctly.
1. Gather Your Components
Before you begin, ensure you have all the necessary components:
✔ Motherboard
✔ Central Processing Unit (CPU)
✔ Memory (RAM)
✔ Storage (Hard Drive or Solid State Drive)
✔ Power Supply Unit (PSU)
✔ Graphics Processing Unit (GPU), if not integrated into the CPU
✔ Computer case
✔ Cooling system (fan or liquid cooling)
✔ Cables and connectors

2. Prepare Your Workspace
Choose a well-lit and spacious area to assemble your computer. Use an anti-static mat or wrist strap to prevent electrostatic discharge, which can damage sensitive components.

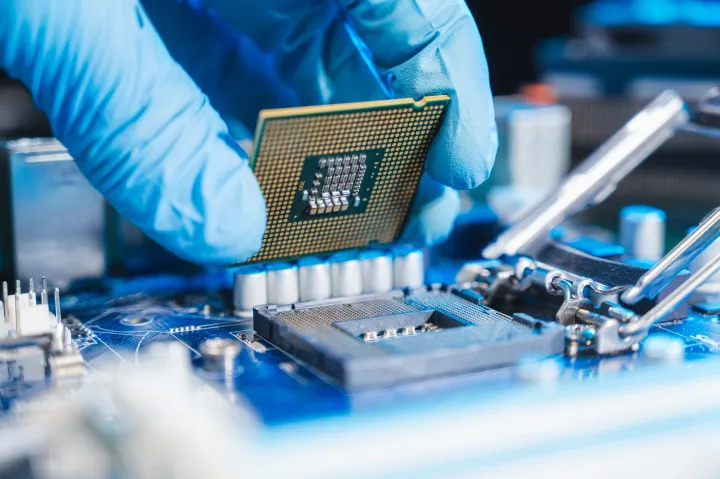
3. Install the CPU
Unlock the CPU socket on the motherboard.
Align the CPU correctly by matching the notches.
Gently place the CPU into the socket and secure it without applying excessive force.
Lock the CPU socket.
4. Install the Memory (RAM)
Open the RAM slots on the motherboard.
Align the notches on the RAM module with those on the slot.
Firmly press down on both ends of the RAM until it clicks into place.

5. Install the Motherboard
Mount the motherboard into the case, aligning it with the standoffs.
Secure the motherboard using screws but avoid overtightening.

6. Install the Storage
Connect your storage device (HDD/SSD) to the motherboard using SATA cables.
Secure the drive in the designated location within the case.

7. Install the PSU
Mount the power supply in the case, aligning it with the fan facing downward or according to the case design.
Connect power cables to the motherboard, CPU, and GPU.

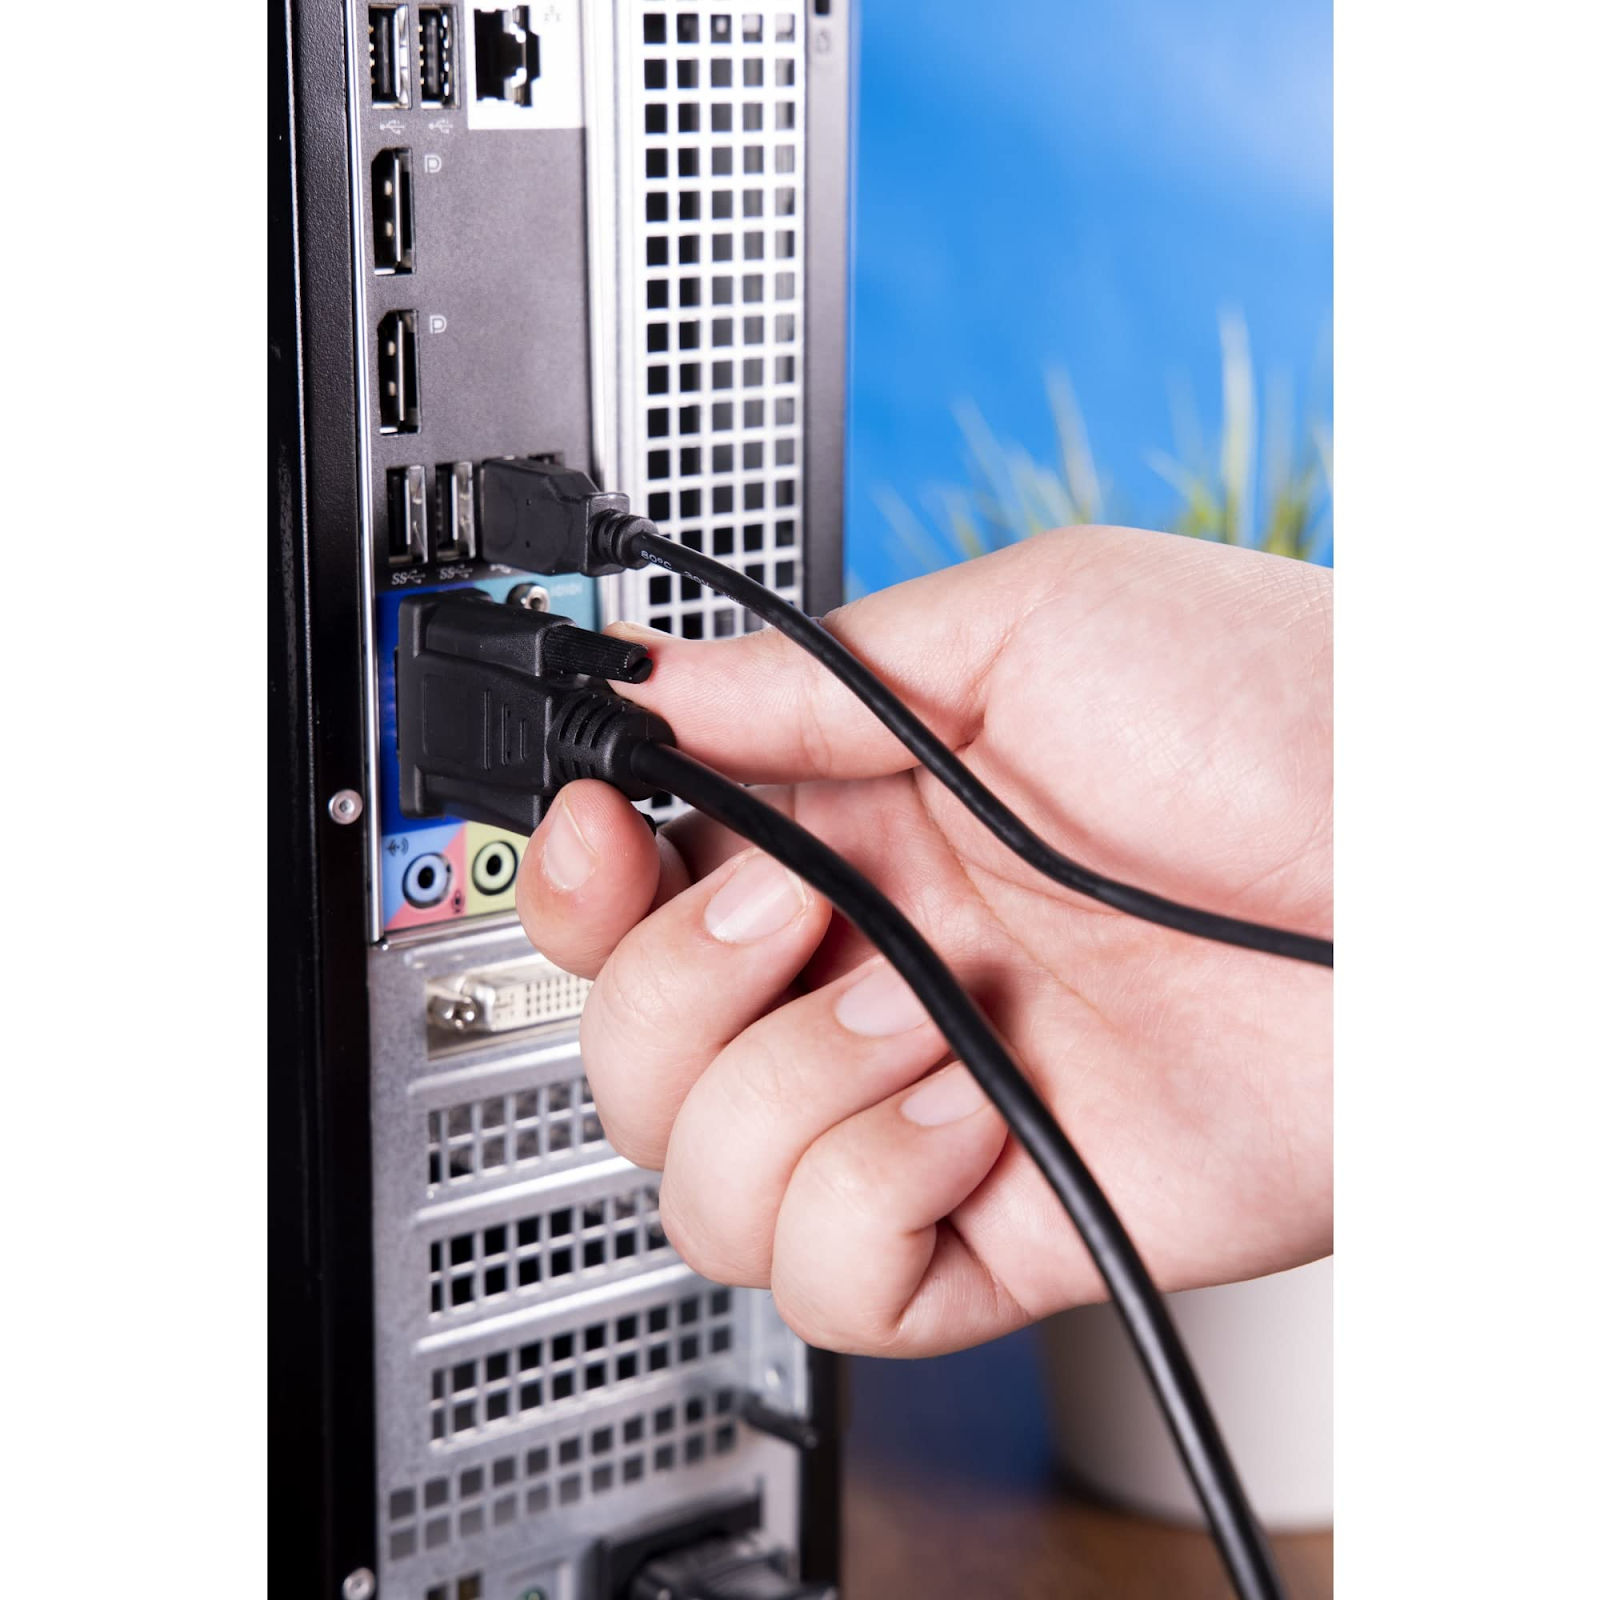
8. Connect Cables and Power On
Connect case buttons, USB ports, and audio connectors to the motherboard.
Double-check all cable connections.
Power on your computer to ensure all components are working.
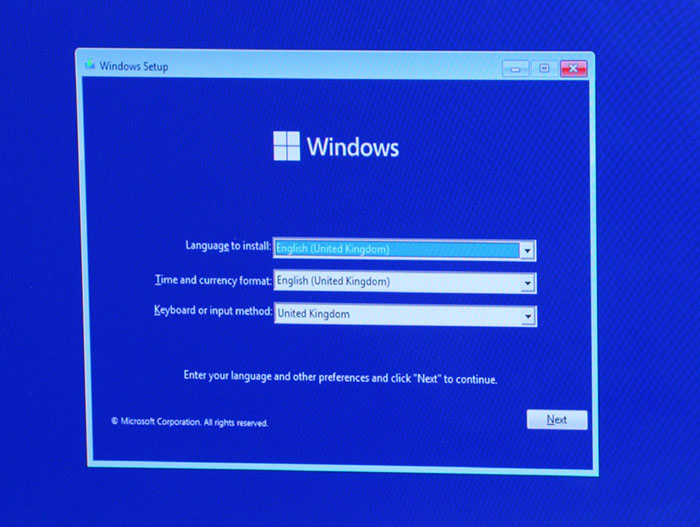
9. Install the Operating System
Insert the operating system installation media (USB or DVD).
Follow on-screen instructions to install the OS.
10. Update Drivers and BIOS
Visit the motherboard and GPU manufacturer's websites to download and install the latest drivers. Additionally, check for BIOS updates to ensure system stability.
Conclusion
By following this comprehensive guide, you'll have successfully assembled your computer. Remember, patience and attention to detail are key. If you encounter any issues, consult the component manuals or seek help from online communities. Happy building!


.jpeg)
Comments
Post a Comment